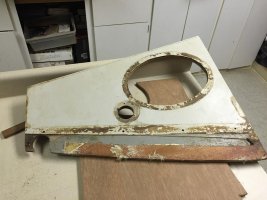
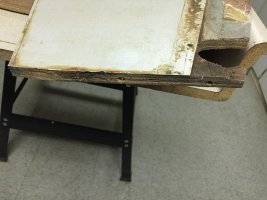
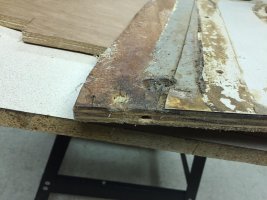
doing some repairs to the chainplate, in order to get at that area I want to remove the cabinet over the sink in the head. I have removed the shelf on top, which in my case was both screwed in and partially glassed on the top. I know there are screws on the bottom underneath the sink which i haven't gotten to yet. That said, with the shelf and screws out of the top I would think there would be some flex in the top or some indication it's ready to come out. I don't see any screws on either side, but this thing won't budge at all even with some really sharp whacks. Are the sides glued? Anyone ever take one of these out and can confirm if i get to the bottom screws it will lift out? Pics hopefully attached with top in and removed.