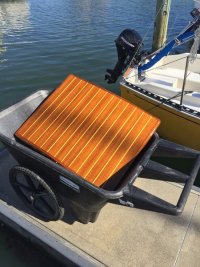
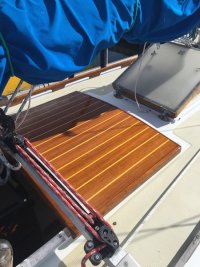
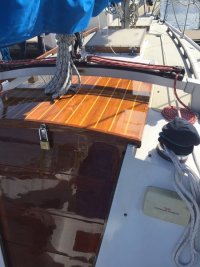
Companionway hatch veneer top

toddster

Curator of Broken Parts
Blogs Author
IIRC, the height-limiting bit was the lip at the forward end of the companionway. Which is also the stop that the aft end of the hatch runs into when fully open. So another solution that might work with a flat square hatch is to make the forward rail removable. Put the hatch in place, push it over the lip, then screw the front on in-situ. I don't remember exactly why I didn't do it that way, except I wanted a bullet-proof one-piece hatch that I could jump up and down on if needed.

Come to think of it, one might also achieve this by unscrewing the stainless slide rails during installation.
 
Last edited:

Mark F

Contributing Partner
Blogs Author
Hi Adam,

The old hatch was made of individual boards (not ply) and it leaked between the boards. The hatch I built for the companionway is also 3/4" thick boards and curved to shead water. I did add a layer of fiberglass to the bottom of the hatch which helps with stability and weatherproofing.
 

Joliba

1988 E38-200 Contributing Member
Bronze wood screws

You might also consider bronze screws without plugs. Countersunk flush they look really good, although the price per screw will make you gasp.
I have always found the best value by purchasing a box of 100 bronze screws from Jamestown Distributors. Every month or so they have a a few days of free shipping. They have a great variety of sizes and drive types.
Mike Jacker
 

JPS27

Member III
The finished hatch

I finished off the hatch as I mentioned earlier with some teak/holly sole plywood. Used epiphanes varnish. plenty of thin coats to avoid sagging on the curved top. Used the matte finish underneath to match my interior. Love matte, covers my imperfect varnishing mistakes great. The hardest part getting the thing back on. I cored out the screw holes, reexpoxied etc.

Jay

IMG-9926.jpgIMG-9927.jpgIMG-9929.jpg
 
Top