Keiffer
Member II
Not quite Hetarios
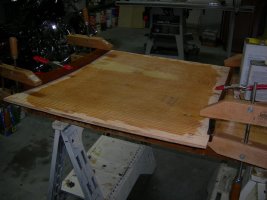
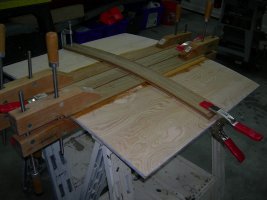
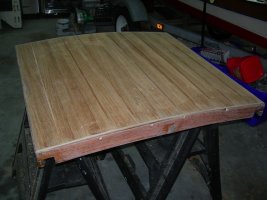
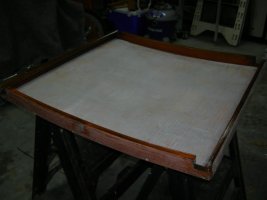
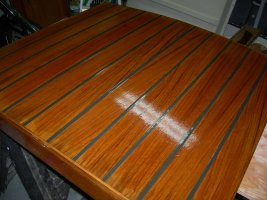
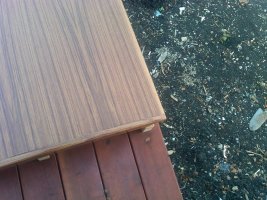
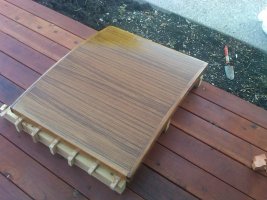
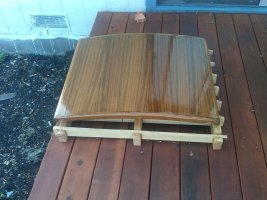
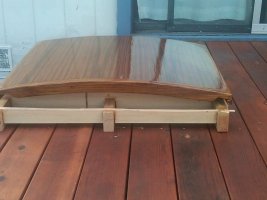
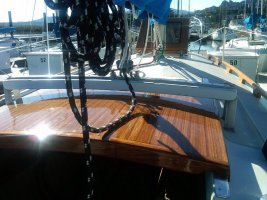
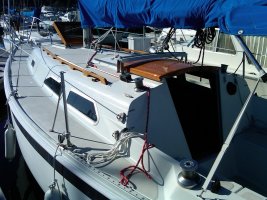
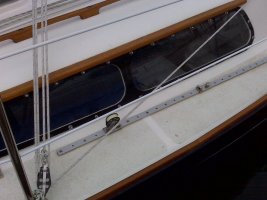
I built a 16' Steve Redmond designed "Whisp" twenty three years ago using West System Epoxy. It was stored uncovered outdoors for years. I recently stripped and re-finished the boat. I have never had a failure. The boat is built and coated with expoxy.
I built a 16' Steve Redmond designed "Whisp" twenty three years ago using West System Epoxy. It was stored uncovered outdoors for years. I recently stripped and re-finished the boat. I have never had a failure. The boat is built and coated with expoxy.
Attachments
-
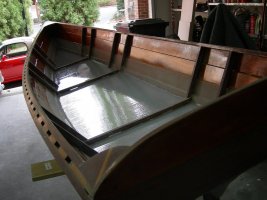 DSCN4628.jpg89.4 KB · Views: 59
 -
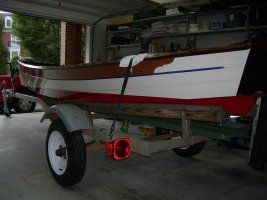 DSCN5941.jpg76.3 KB · Views: 64
 -
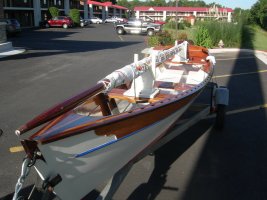 DSCN6160.jpg103.1 KB · Views: 70
")