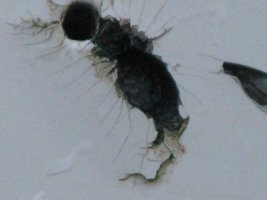
I posted here back in the beginning of May about taking ownership of an Ericson 30+ that is in need of a home before it is cut up. I am still on the fence with the taking on of this project and am curious about this one potential problem. On the starboard side of the hull below the waterline there is this perfectly round hole that I am not sure why it is there. I can't seem to trace it to a hose or anything on the inside and wondering if anyone has a clue what it could be. Obviously it can be filled, patched and we can move on, but wanted to solicit opinions as to what might have been there or what was supposed to go there. So much has been taken off of this boat that I really need pictures and descriptions of what everything is and were it should belong to get a total picture of what I have or don't have. Your opinions are always welcome. Here is a picture to show it.

Thanks for any advice.
Thanks for any advice.