Hi Christian,
Excellent question. I think the simplicity of the 1 line, 1 winch, 1 cleat system has some advantages, particularly for racing. You don't have to worry about clutches slipping when loaded, or snagging when lines run free and you can do two or three line functions at the same time if you have the crew and the room (and the winch handles!).
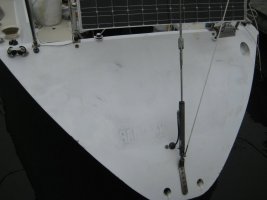
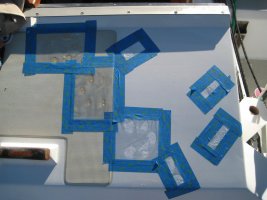
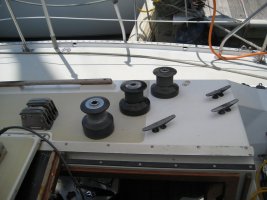
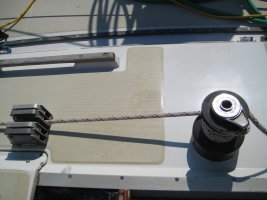
My primary motivation for changing this arrangement was that I needed more power to fully hoist the main and genoa (port side) than my Barient 18 winches could provide. I could not tail the halyard AND grind the winch solo at high effort levels effectively. So I upgraded to Barient 23 self tailer. I could have switched the inboard 18 to a 23ST and kept the other two but I have never really needed the other two winches. I also wanted to move the clutches aft to clear a dodger if I ever add one. I have room for another pair of winches further outboard on the cabintop if I find I need them but I would go with a bigger size than 18s.
Mark
 IMG_0603.jpg99 KB · Views: 48
 IMG_0599.jpg73.5 KB · Views: 36
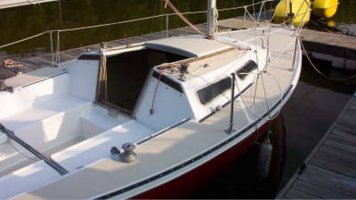 IMG_0596.jpg107.4 KB · Views: 27