I'm curious as to what the thickness of the E27 hull is,I have heard close to an inch but can't seem to find any specs.
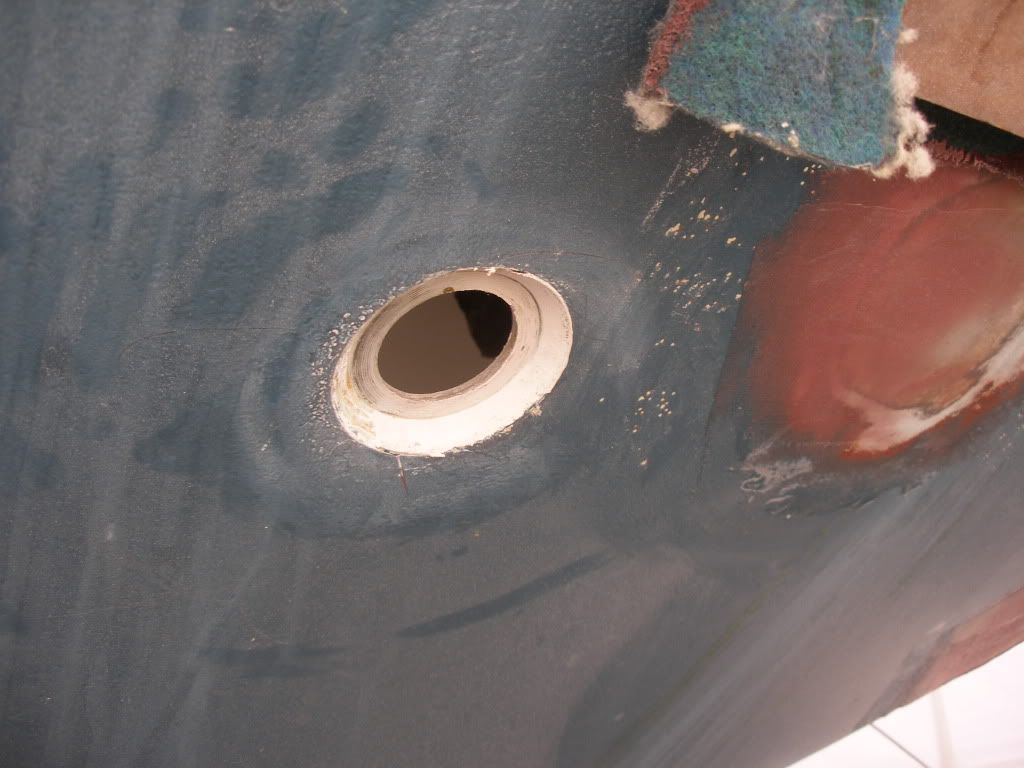
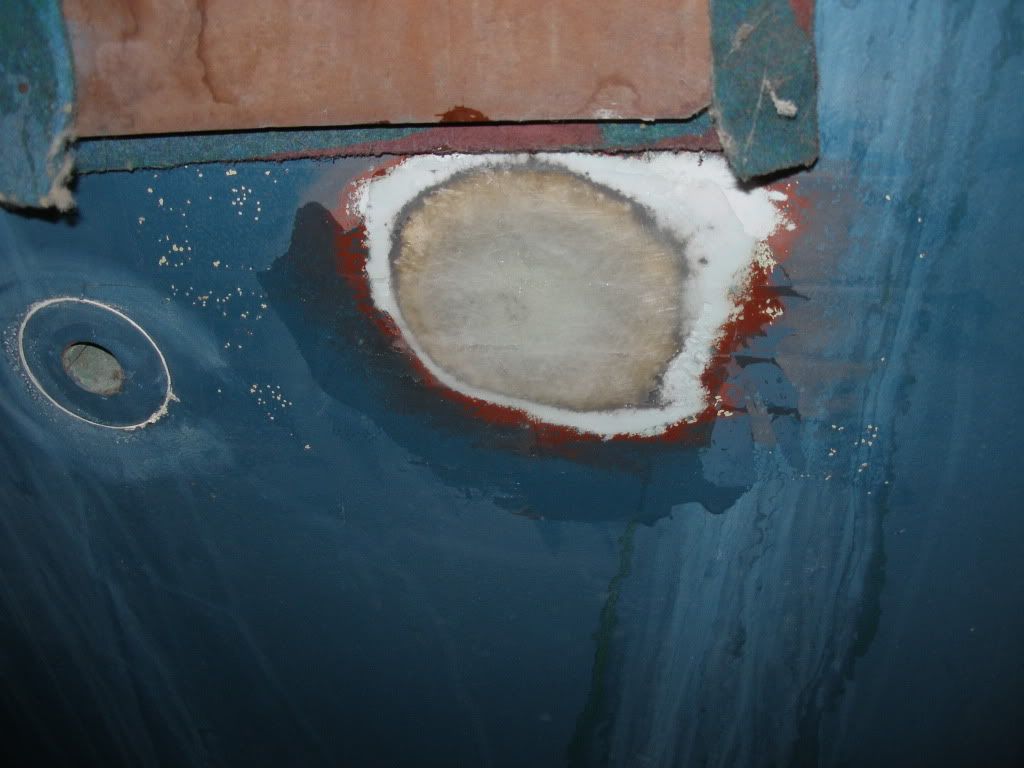
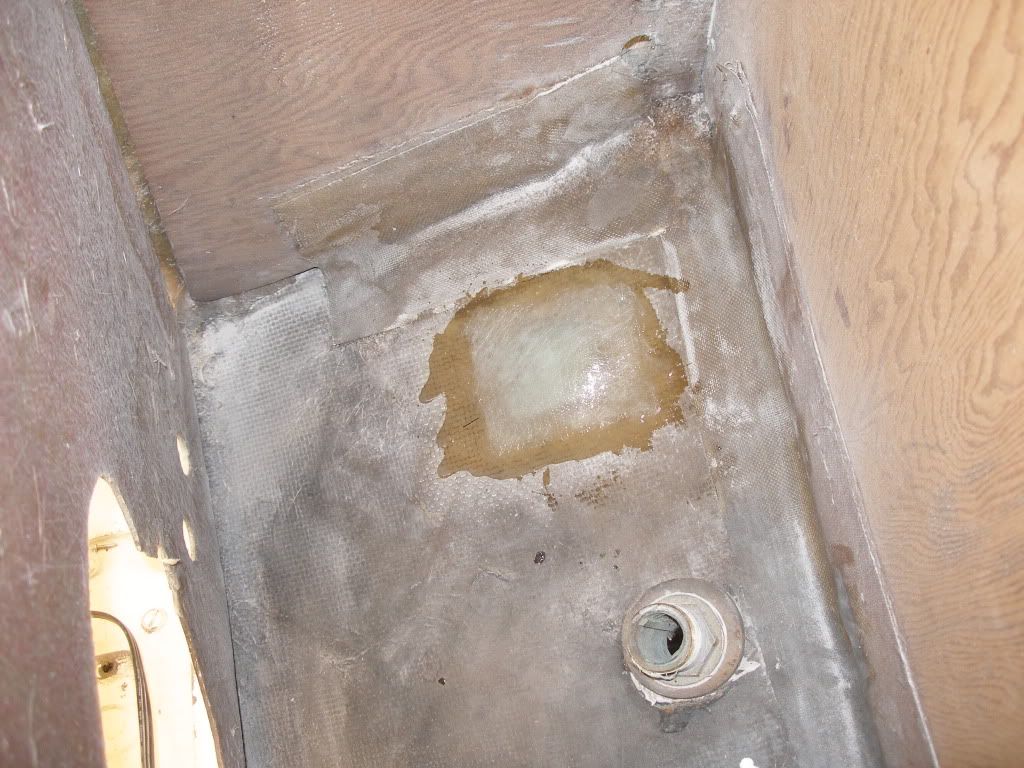
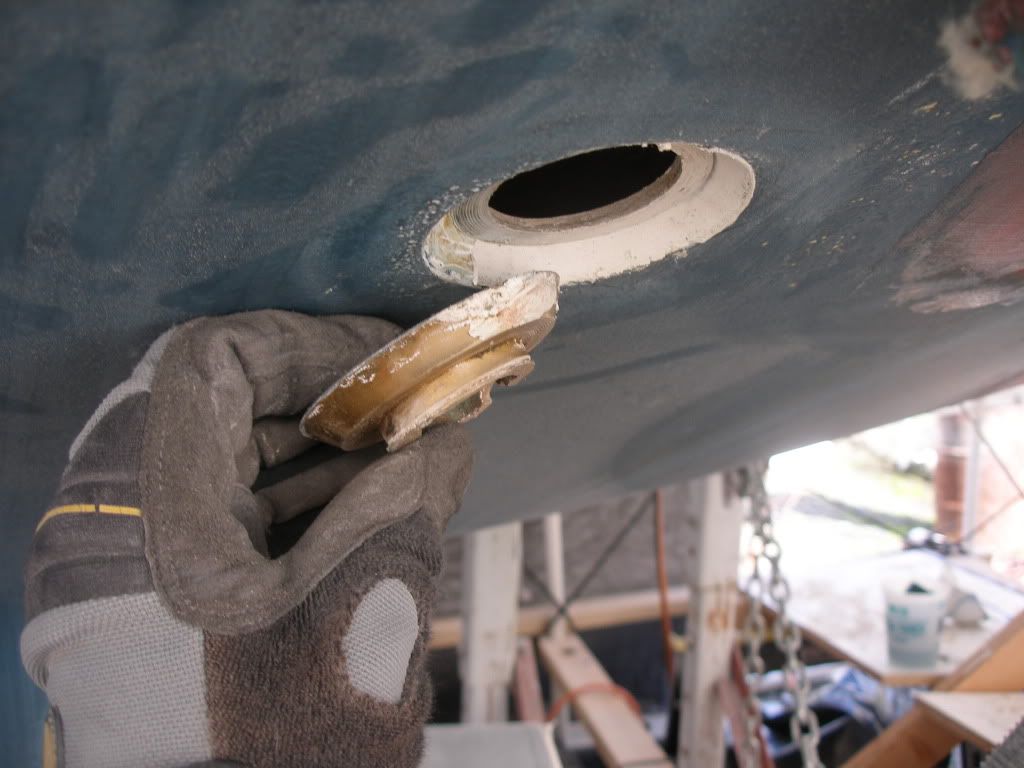
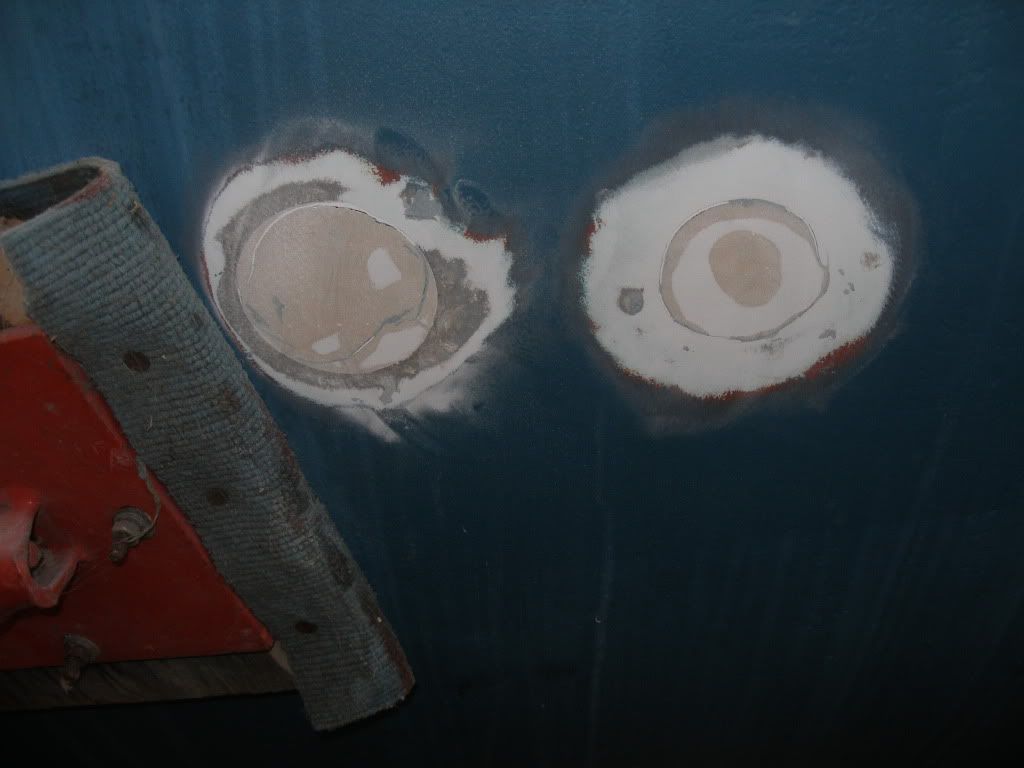
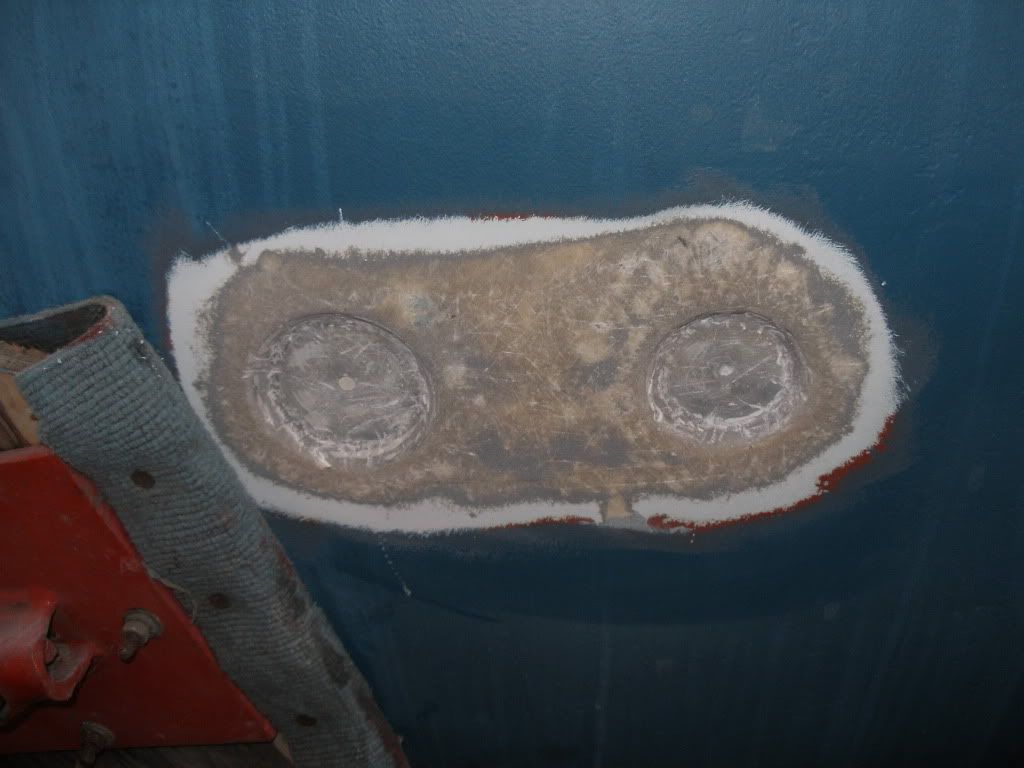
On another note,I will be doing some hull work and want to move my engine raw water sea cock to an accessible area.For some ungodly reason either the factory or some previous owner put it way in the back of the storage compartment under the sink(almost at the lazarette bulkhead).Anyway I'm open to good advise on what to use to plug the old hole.I'm considering 3m high strength filler which I already have for filling small gouges and such! I also have some structural west filler but it is very coarse and I am afraid of air voids if this is used!
On another note,I will be doing some hull work and want to move my engine raw water sea cock to an accessible area.For some ungodly reason either the factory or some previous owner put it way in the back of the storage compartment under the sink(almost at the lazarette bulkhead).Anyway I'm open to good advise on what to use to plug the old hole.I'm considering 3m high strength filler which I already have for filling small gouges and such! I also have some structural west filler but it is very coarse and I am afraid of air voids if this is used!
Last edited:
")