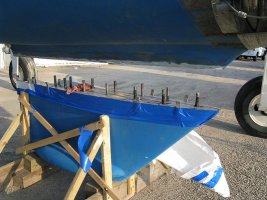
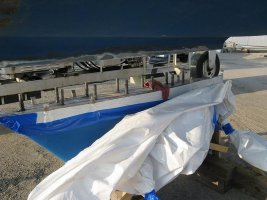
Well, the keel went back on today! There were some issues that I thought were interesting:
When the hull was lowered onto the keel, both the aft and forward ends of the keel shoe met the keel first. There was almost 1/2" gap in the middle! In reality that is not very much over 7+feet of keel length. The hull moves considerably when removed from the keel and the rig is not pulling on it. I am guessing that a fiberglass boat, even with a TAFG grid, is quite flexible. The hull hung in the Travelift the whole time the keel was being repaired so I think the support was quite adequate. The keel and standing rigging when installed, including the water supporting the hull is what holds its shape. Given the issues others have had with furniture moving after adjusting the rig, sailing hard, etc. I am not overly concerned.
The keel fits to the hull with a slight "step". The layer of epoxy was quite thick and the result is the keel is slightly smaller, maybe 3/32", as it is pulled up closer to the hull. The gasket of sealant is 1/8"+ or so max. Some minor fairing work will be required after full cure.
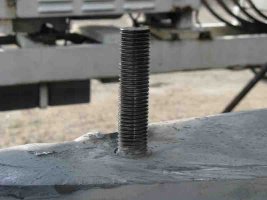
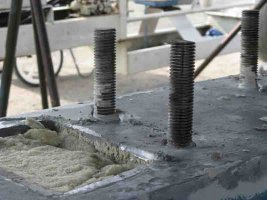
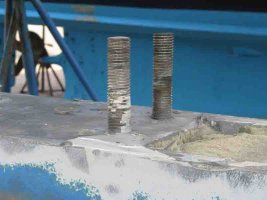
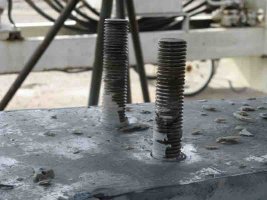
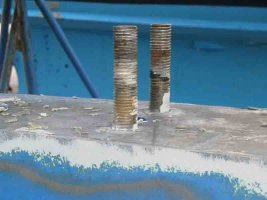
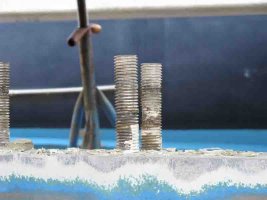
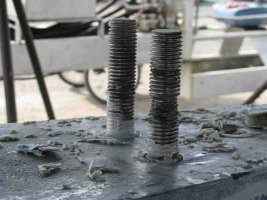
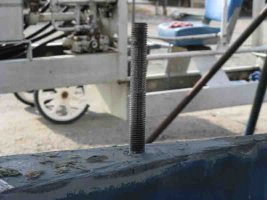
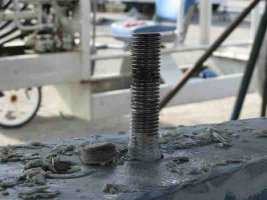
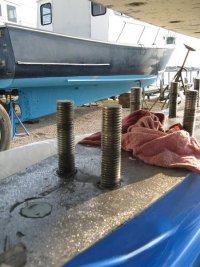
Regarding the keel bolts and the sealant making its way up into the keel bolt holes. I was informed by one of the techs that almost all of them had copious quantities of sealant squishing out on the inside. The aftmost smaller bolt is the only one that will require attention/filling. After full cure each nut/washer will be removed, the area checked for voids and then final torqued.
Currently the boat is still in the Travelift with the keel blocked so some weight is on the keel but most in the slings. The idea is to allow the sealant to cure for 48 hours before dropping her full weight on the keel and poppets.
For those that are wondering what sealant was used I settled on 3M 5200. I know some will not agree with this choice. I understand why. I did more reading than I care to about tensile strengths, elongation, etc. and 5200 beats all others in most categories. I understand that it is a bugger to remove. Given how difficult it was to remove the keel this time I can't see how it could be worse! There was also some concern about 5200 hardening over time. I have had to remove 5200 that was 10+yrs old and it was still quite pliable. That to me is acceptable lifespan. Likely it will double that figure and in 20 yrs there is a good chance the old girl will be put out to pasture anyway. 5200 may not be the perfect solution but the keel will not leak or fall off so mission accomplished.
So its almost over and the hard work is done at this point. This project has been a bear. Probably one of the worst things, as in most difficult, that a boat owner can get himself involved in. I'm I glad I did it? Yes, very much so. I am much more confident in the keelbolts after seeing them up close and knowing the repairs were done well. I also think it will add somewhat to the desirability of the boat should I ever have to sell it. All in all, if you think you should do it, then go for it. Just be prepared for some frustration. You do feel much better at the end though....
I hope everyone enjoyed the "ride"!
RT
 KB1pt.jpg21.4 KB · Views: 105
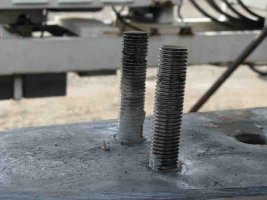 KB2_3.jpg24 KB · Views: 91
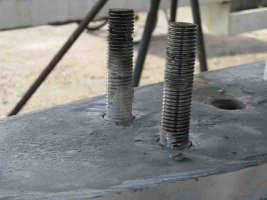 KB2_3pt.jpg23 KB · Views: 101
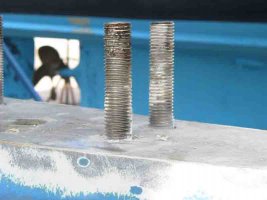 KB2_3stb.jpg22.6 KB · Views: 104
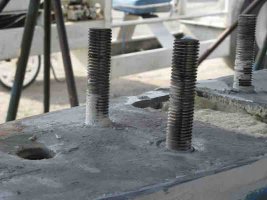 KB4_5.jpg25.5 KB · Views: 85

")