Slide hammers and hammering output flanges
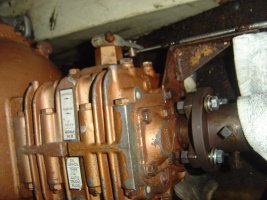
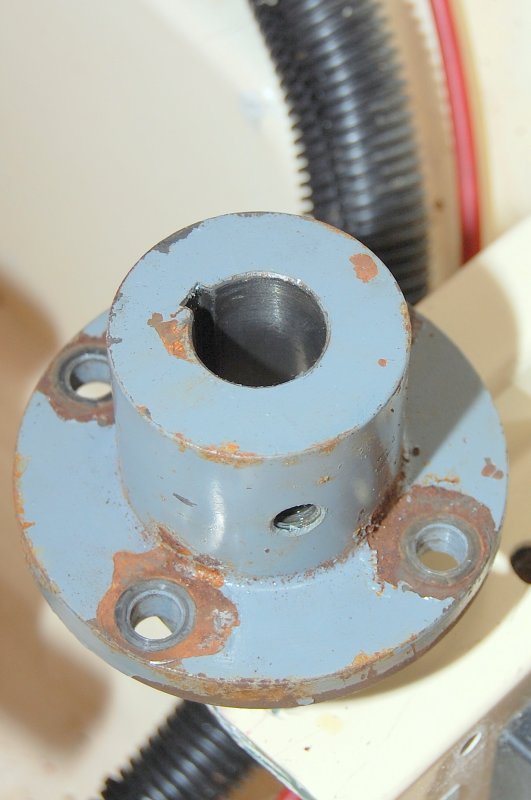
Here's an internal diagram of the Hurth transmissions many of us have. I have the HBW-10-2R in my E38, on the old heavy block 5432. I just replaced the dripless shaft seal and in the process of putting the shaft and coupling back together I got the key in wrong. I really didn't know there was a wrong way. This is on a straight, square-keyed shaft and coupling. In my ignorance I hammered away on it for a few minutes with a small sledge hammer before giving up and getting some help. Once the key was squared away (only eight ways to try) the coupling slid on really easily, and there was no wiggling or play in the coupling. After the experience of getting the two apart with a coupling puller, I was amazed at how easily they slid together.
Discussing the hammering with the yard manager, he didn't think we hurt anything. I had put a piece of 3/4" plywood between the couplings, but the transmission still absorbed the blows. You can imagine the sinking feeling when I read Maine Sail's critique of the slide hammer causing problems with transmissions.
Today at the boat show I made a point to talk to a transmission repair shop. I am still concerned, and have a plan to evaluate if I did some damage, but I am not as worried as I was since that post. In a nutshell, I was told that the bearings can take a pretty good beating if they were in good shape to begin with (a bit of an unknown) and there was little or no fore and aft play in the output shaft.
He also said that the bearings are regular Timken wheel bearings and are very hard steel. The weak point of either shaft assembly is the aluminum end cap. You can see the input shaft cap with the four bolts in the second attachment. The output shaft cap is inside the bell housing and it could leak if the shaft was shoved forward. That is still a possibility in my case. I will be watching for fluid loss. The evaluation plan is to check the fore-aft play, spin the output shaft to check for roughness, and to watch the fluid level. I suppose when we run it in the slings it could make a lot of noise, too. We have to break in the carbon face of the shaft seal, so we will run in the slings for a while anyway. I have two draw bridges to negotiate to get back to my marina, and every time we go out we have a railroad bridge and a swing bridge to pass, so I am very concerned about drive train or engine problems in our river location.
In addition, before I change the fluid, I take one of those magnet on a stick things and stick it into the fluid and see what kind of metal comes out. I have only gotten a little powder-type residue up til now, so a change to the results of that test would signal damage.
A couple of other tidbits from the mechanic about the Hurth:
-- The lubrication is splash type, so over filling the fluid a little is not going to cause any real problems. There may be some venting out the filler cap, but that is about it. Foaming or air in the fluid isn't particularly a problem. (I think it would be a problem if there was a pump involved, and/or an external heat exchanger)
-- If the transmission starts to delay dropping into gear, or goes into gear with a clunk, time to get it overhauled. Cost these days is $500-$600 USD.
-- The older Hurths are good for about 2000 hours, generally, before the shifting problems start.
-- He brought up the slide hammer removal technique, saying it wouldn't hurt this type of transmission. (We didn't discuss damage to threads on a shaft.)
I don't know this mechanic, can't vouch for him, but he never tried to scare me into giving him any business, so I offer this as a another opinion. I think it is possible to hurt transmissions in this way, but maybe (hopefully) the Hurths aren't so easily bruised. The $169 Vessel Assist membership sounds like a good deal, doesn't it?