kapnkd
kapnkd
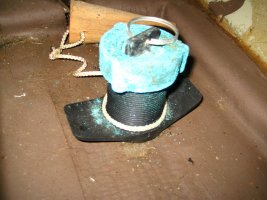
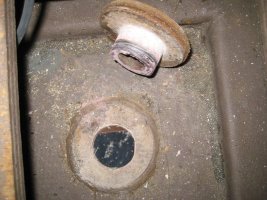
We purchased a newer style multi-purpose transducer that is a slightly larger diameter than the old one. This presented a problem of increasing the size of the opening in the through hull. Last thing I wanted was not to have a snug fit around the transducer caused by irregular filing and grinding.
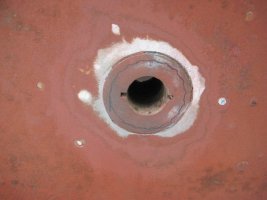
My solution so as not to lose that perfectly round shape was to select a hole saw to the size of the old hole. I then picked the right size saw to fit over the old one but with washers between so the old saw blades made first contact and lined up the second blade for a perfect cut hole. It took a bit of "fiddling" to get the two matched up and secured tightly but was more than worth the effort.
It worked like a charm!!
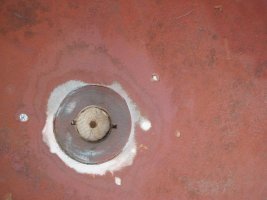
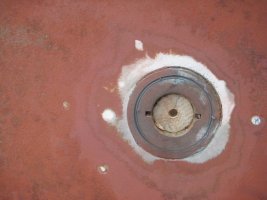
Last edited:

") . Thanks.
. Thanks.