Grizz
Grizz
I believe the time has come to reach out to the assembled Ericson family, but not before a bit of background:
- A month ago I shoved the prop strut laterally while crawling 'round beneath the boat...and it rocked about 1/8" to port and starboard (immediate thought = "this can't be good")
- There is access from above, somewhat, to the strut, but the only visible trait is a glassed in 'bump'.
- From the outside, it appears that there is a base plate that surrounds the strut, but there are no bolts/screws visible.
- No chipping or grinding has occurred, yet, but these are next in queue, if necessary
- I have searched and used the 'Advanced Search' option within this site, to no avail. I've Googled and queried elsewhere and still haven't found what's actually beneath this bump in this Olson 34. I did find a sketch of a strut embedment to an E-34 #203, which helped a bit, somewhat. There remain questions.
- The pre-purchase survey recommended fairing of the mushed in thickened epoxy (my words) but did not ask why there was mushed in thickened epoxy in that particular location. In retrospect, an error of omission on my part.
Attachments
-
 Exterior P&S Gap.jpg78.4 KB · Views: 47
 -
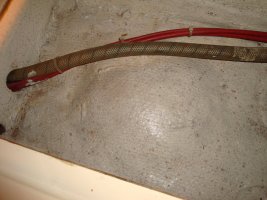 Olson strut glassed-in 'hump'.jpg98.8 KB · Views: 53
 -
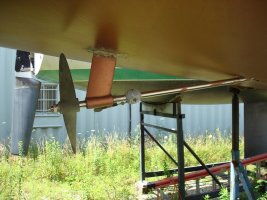 'As Bought' Strut and Prop.jpg116.1 KB · Views: 47
")